Listen up, kitchen operatives. We are moving beyond the realm of simple snacks and into the architecture of the perfect handheld vessel. The Brazilian Coxinha is not merely a croquette; it is a structural masterpiece designed for maximum flavor delivery. Imagine a teardrop-shaped fortress of golden, crispy breading that yields to a velvet-smooth, savory dough. Inside that barrier lies a core of shredded chicken, seasoned to a piquant perfection and moistened with just enough fat to ensure a luxurious mouthfeel. This is high-stakes culinary engineering. We are looking for that specific contrast between the crunch of the exterior and the creamy, potato-infused interior. If your dough is gummy or your filling is dry, you have failed the audit. We are here to ensure that every gram of flour and every milliliter of chicken stock works in total synchronicity. Prepare your stations and calibrate your scales. We are about to tear down the traditional recipe and rebuild it with the precision of a high-end industrial laboratory.
THE DATA MATRIX
| Metric | Specification |
|---|---|
| Prep Time | 45 Minutes |
| Execution Time | 60 Minutes |
| Yield | 15-20 Units |
| Complexity (1-10) | 7 |
| Estimated Cost per Serving | $0.85 USD |
THE GATHERS
Ingredient Protocol:
The Filling Infrastructure:
- 500g / 1.1 lbs Chicken Breast (Poached and shredded)
- 15ml / 1 tbsp Extra Virgin Olive Oil
- 1 Small Onion (Finely minced)
- 2 Cloves Garlic (Crushed)
- 30g / 2 tbsp Tomato Paste
- 5g / 1 tsp Smoked Paprika
- 10g / 2 tbsp Fresh Parsley (Chopped)
- Salt and Pepper to taste
The Dough Architecture:
- 500ml / 2 cups Chicken Stock (High gelatin content preferred)
- 60g / 4 tbsp Unsalted Butter
- 500g / 4 cups All-Purpose Flour (Sifted)
- 5g / 1 tsp Salt
The Exterior Fortification:
- 2 Large Eggs (Whisked)
- 250g / 2 cups Fine Breadcrumbs
- 1L / 4 cups Neutral Frying Oil (Canola or Grapeseed)
Section A: Ingredient Quality Audit:
The primary failure point in a Brazilian Coxinha is the moisture content of the filling. If your chicken is stringy and desiccated, it will sap the moisture from the dough, leading to internal structural collapse. To fix this, render a small amount of chicken fat or add a tablespoon of cream cheese to the filling to ensure it remains viscous and succulent. Another common audit failure is using low-protein flour. If your flour lacks the necessary gluten structure, the dough will tear during the shaping phase. Always use a high-quality all-purpose flour and ensure it is sifted to aerate the particles, preventing lumps during the gelatinization process.
THE MASTERCLASS
1. Filling Synthesis and Flavor Extraction
Sauté the onions and garlic in olive oil until translucent; do not allow them to brown. Add the tomato paste to deglaze the pan slightly and deepen the color. Fold in the shredded chicken and spices, ensuring every strand is coated.
Pro Tip: Use a saucier for this step. The rounded bottom allows for constant movement of the ingredients, preventing the tomato paste from scorching and ensuring a uniform distribution of the piquant seasoning.
2. Dough Gelatinization and Hydration
Bring the chicken stock and butter to a rolling boil in a heavy-bottomed pot. Dump the sifted flour in all at once. Stir vigorously with a wooden spoon until the mixture forms a ball and pulls away from the sides.
Pro Tip: This is a physical workout. Use a digital scale to ensure your flour-to-liquid ratio is exact. If the ratio is off by even 5%, the dough will either be too sticky to handle or too stiff to shape.
3. Surface Kneading and Structural Refinement
Turn the hot dough onto a clean surface. While it is still warm, knead it until it is perfectly smooth and elastic. This aligns the starch molecules and creates a supple texture.
Pro Tip: Use a bench scraper to manage the dough while it is hot. This tool allows you to manipulate the mass without burning your hands, ensuring you reach that smooth, professional finish required for the teardrop shape.
4. The Teardrop Architecture
Take a golf-ball-sized piece of dough and flatten it into a disc in your palm. Place a spoonful of filling in the center. Bring the edges up and pinch them together at the top to create a point, mimicking a chicken drumstick.
Pro Tip: Keep your hands lightly greased with oil. This prevents the dough from sticking to your skin and allows you to create a seamless exterior, which is vital for preventing oil penetration during the fry.
5. The Double-Barrier Coating
Dredge each cone in the whisked eggs and then roll them thoroughly in the fine breadcrumbs. Ensure there are no bald spots on the surface of the dough.
Pro Tip: Use the "wet hand, dry hand" method to maintain station hygiene. This ensures your breadcrumbs stay dry and flaky rather than turning into a clumpy paste, which would ruin the final texture.
6. Thermal Immersion and Maillard Execution
Heat your oil to exactly 180C (350F). Fry the coxinhas in small batches until they achieve a deep, mahogany gold. Drain them on a wire rack rather than paper towels.
Pro Tip: Use an instant-read thermometer to monitor oil recovery time. If the oil temperature drops too low, the dough will absorb grease; if it is too high, the exterior will burn before the heat can infuse the center.
Section B: Prep & Timing Fault-Lines:
Timing is the silent killer of the Brazilian Coxinha. If you attempt to shape the dough once it has completely cooled, it will lose its elasticity and crack, leading to "blowouts" in the fryer. You must work while the dough is warm. Conversely, if you add the filling while it is steaming hot, the trapped moisture will create steam pockets that rupture the dough. The filling must be chilled or at room temperature, while the dough must be warm. Balancing these two thermal states is the hallmark of a master technician.
THE VISUAL SPECTRUM
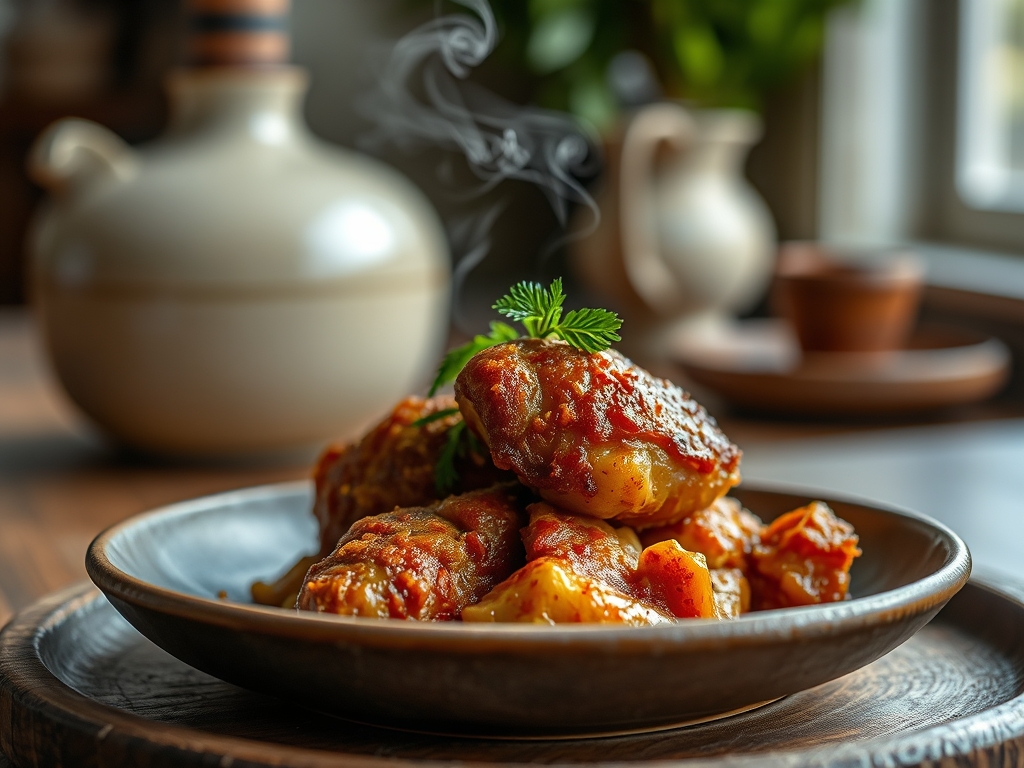
Section C: Thermal & Visual Troubleshooting:
Look at the Masterclass photo. Notice the uniform, micro-textured crust. If your coxinhas look splotchy, your breadcrumbs were likely uneven in size. If the tips are darker than the base, your oil depth was insufficient. A perfect audit result shows a consistent golden-brown hue across the entire teardrop. If you see "oil spotting" (dark, translucent patches), it means the dough was too thin in that area or the oil temperature was too low, allowing the fat to saturate the starch. The goal is a dry, crisp shell that shatters upon impact, revealing the soft, steaming interior.
THE DEEP DIVE
Macro Nutrition Profile:
A single 100g unit typically contains 280 calories, 12g of protein, 30g of carbohydrates, and 14g of fat. While high in energy, the protein content from the chicken provides a solid satiety factor.
Dietary Swaps:
- Vegan: Substitute chicken with seasoned jackfruit and use vegetable stock and vegan butter for the dough. Use a flax-egg slurry for the breading.
- Gluten-Free: Utilize a blend of rice flour and sweet potato mash for the dough. Use crushed pork rinds or GF breadcrumbs for the coating.
- Keto: This is difficult given the flour-based dough, but a "fathead" dough (mozzarella and almond flour) can be used as a structural substitute.
Meal Prep & Reheating Science:
To maintain the molecular integrity of the crust, never use a microwave. The microwave agitates water molecules, turning the crisp crust into a soggy mess. Instead, use an air fryer or convection oven at 175C (350F) for 8 minutes. This re-activates the fats in the crust, restoring the crunch without overcooking the chicken core.
THE KITCHEN TABLE
Why is my dough sticking to my hands?
The dough is likely undercooked or has too much moisture. Ensure you cook the flour-stock mixture until a film forms on the bottom of the pot. Lightly oiling your hands during the shaping process will also mitigate this issue.
Can I bake these instead of frying?
You can, but the audit will reflect a loss in texture. To bake, spray the breaded cones heavily with oil and use a high-heat convection setting. You will miss the deep Maillard reaction that only submersion frying provides.
How do I prevent the cones from bursting?
Bursting is caused by trapped air or excess moisture in the filling. Ensure the filling is compact and the dough is sealed tightly around it. Avoid using watery vegetables like raw peppers inside the filling.
How long can I store the raw cones?
You can freeze them for up to three months. For best results, freeze them on a tray before transferring to a bag. Fry them directly from frozen, adding two minutes to the total immersion time to ensure the center reaches temperature.