Listen to the silence of a kitchen at midnight and you might hear it; the frantic, microscopic percussion of Leuconostoc mesenteroides feasting on complex starches. We are not merely making breakfast. We are engineering a biological suspension. Indian Idli Batter is the gold standard of fermented rice and lentil technology. It is a high-stakes game of hydration, friction, and thermal regulation. When executed with precision, the result is a cloud-like crumb structure that defies the gravity of its dense ingredients. When it fails, you are left with a flat, sour sludge that belongs in a masonry kiln rather than a steamer. To master this, you must think like a microbiologist and move like a master mason. We are looking for a specific viscous profile; a batter that pours like heavy cream but holds the structural integrity of a mousse. The scent should be mildly piquant, never acrid. This is the foundation of South Indian gastronomy. It requires patience, a digital scale, and a fundamental respect for the power of wild yeast. Let us begin the audit.
THE DATA MATRIX
| Metric | Specification |
|---|---|
| Prep Time | 30 Minutes (Active) |
| Execution Time | 12 to 24 Hours (Incubation) |
| Yield | 15 to 20 Servings |
| Complexity (1-10) | 7 |
| Estimated Cost per Serving | $0.45 |
THE GATHERS
Ingredient Protocol:
- 500g / 2 cups Parboiled Idli Rice (Short grain)
- 250g / 1 cup Whole Skinless Black Gram (Urad Dal)
- 15g / 1 tbsp Fenugreek Seeds (Methi)
- 10g / 2 tsp Sea Salt (Non-iodized)
- 750ml / 3 cups Filtered Water (Variable for hydration)
- 50g / 0.5 cup Flattened Rice (Poha) for enhanced softness
Section A: Ingredient Quality Audit:
The primary failure point in most Indian Idli Batter formulations is the age of the Urad Dal. If the lentils have been sitting in a warehouse for eighteen months, the protein structure has degraded. You will fail to achieve the necessary mucilaginous quality required for aeration. To fix this, perform a float test. Fresh dal should feel slightly oily to the touch. If your rice is too aromatic, such as a high-grade Basmati, the starch-to-protein ratio will be skewed, resulting in a sticky, gummy texture. Stick to parboiled short-grain varieties. If your water is heavily chlorinated, it will act as a biocide, killing the very wild yeast you are trying to cultivate. Always use filtered water or water that has sat out for 24 hours to allow chlorine dissipation.
THE MASTERCLASS
Step 1: Systematic Hydration and Steeping
Begin by rinsing the rice and lentils separately until the water runs clear. This removes excess surface starch that can cause the batter to become unpleasantly gluey. Submerge the rice and poha in one vessel and the urad dal with fenugreek seeds in another. Use a digital scale to ensure your water-to-grain ratio is at least 3:1. Steep for a minimum of six hours.
Pro Tip: The fenugreek seeds are not just for flavor. They contain high levels of mucilage which stabilizes the air bubbles during the fermentation process. Use a stainless steel saucier for soaking to maintain a consistent temperature during the steep phase.
Step 2: The Emulsification of Urad Dal
Drain the lentils but reserve the soaking water; it is "liquid gold" packed with wild microbes. Transfer the dal to a high-speed wet grinder or a heavy-duty blender. Add the reserved water in 50ml increments. Grind until the mixture transforms into a voluminous, frothy, and white foam. It should feel like silk between your fingers.
Pro Tip: Friction generates heat, and heat is the enemy of protein stability. If the blades feel warm, add an ice cube to the grind. Use a silicone spatula or a bench scraper to ensure every grain is incorporated into the emulsion.
Step 3: Mechanical Breakdown of Rice Starches
Drain the rice and grind it separately. Unlike the dal, the rice should not be a smooth paste. It requires a slightly granular texture, similar to fine semolina. This provides the "skeleton" of the idli, allowing the steam to penetrate the batter evenly during the final cook.
Pro Tip: A stone wet grinder is the professional tool of choice here. It crushes the grain rather than cutting it, which preserves the integrity of the starch granules and results in a superior rise.
Step 4: The Molecular Marriage
Combine the rice and dal pastes in a large non-reactive ceramic or glass bowl. Use your clean hands to mix the two together for at least five minutes. This is not just for homogenization; the natural heat and bacteria from your hands jumpstart the biological clock of the fermentation.
Pro Tip: Do not add salt yet if you live in a cold climate. Salt is a fermentation inhibitor. Only add it after the batter has risen. Use a large whisk to aerate the mixture further, incorporating as much oxygen as possible before the anaerobic phase begins.
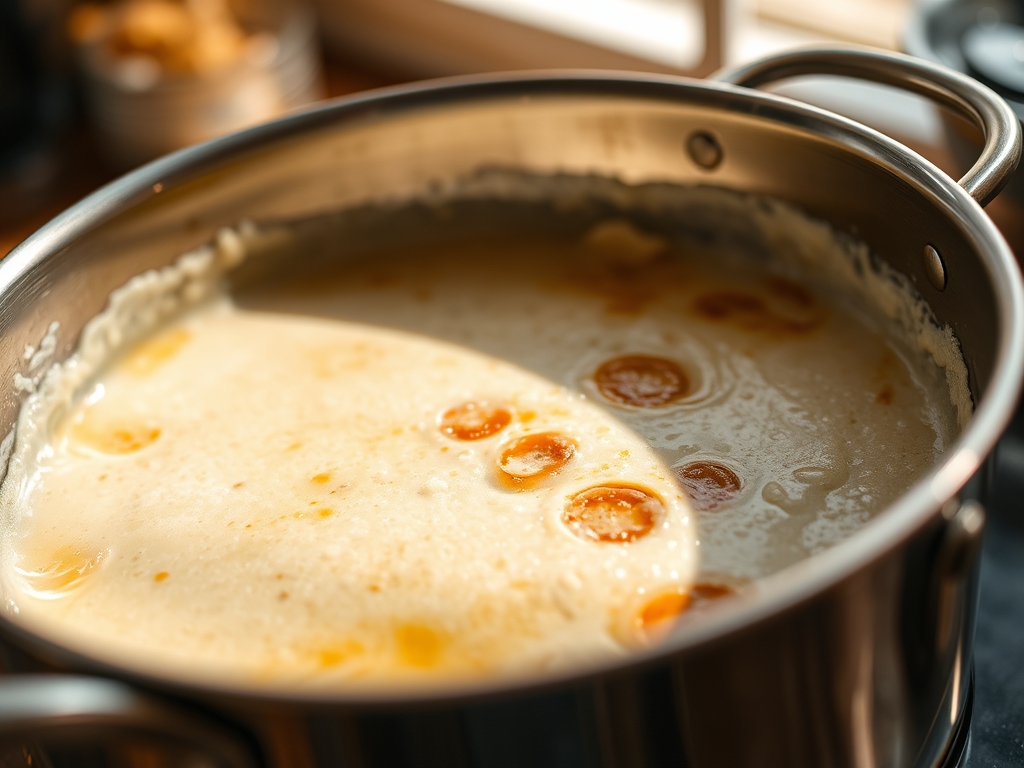
Step 5: Controlled Incubation
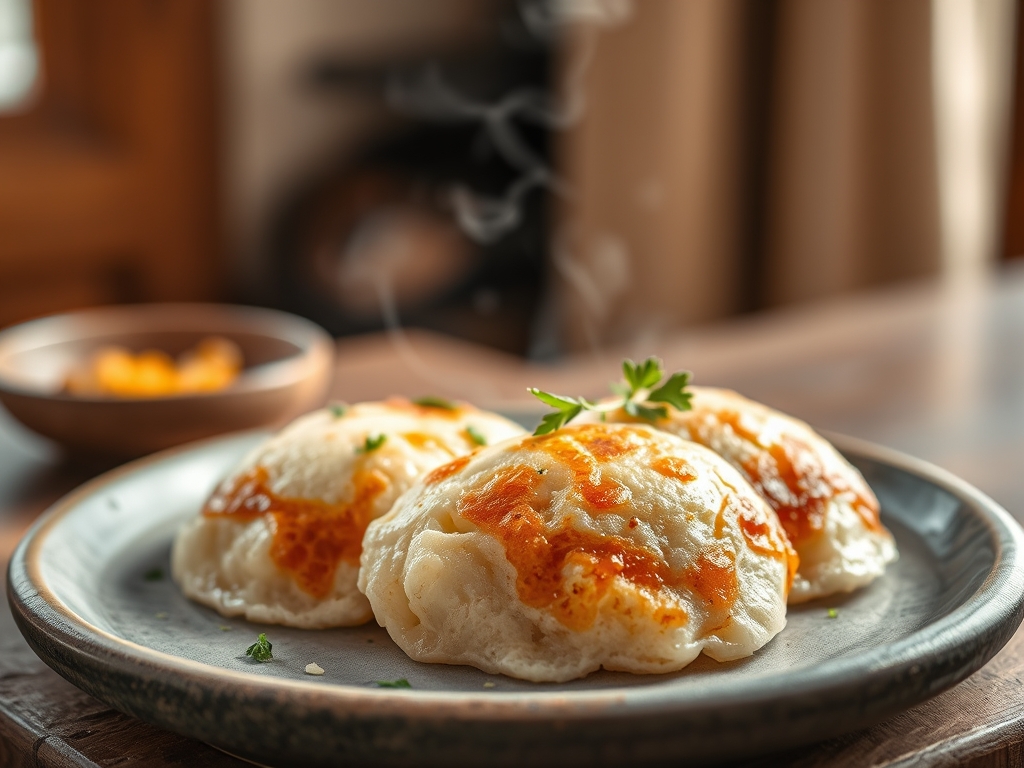
Cover the vessel with a breathable cloth or a loose lid. Place it in a warm, dark environment (ideally between 28 and 32 degrees Celsius). Allow it to ferment for 8 to 12 hours. The batter is ready when it has doubled in volume and exhibits a honeycomb structure when scooped.
Pro Tip: If your kitchen is a tundra, place the bowl inside a conventional oven with only the pilot light turned on. This creates a perfect proofing chamber that maintains a steady 30-degree environment without scorching the microbes.
Section B: Prep & Timing Fault-Lines:
The most common human error is impatience. If you under-ferment, the batter will be dense. If you over-ferment, the lactic acid production will skyrocket, resulting in a batter that smells like vinegar and collapses upon steaming. Use a kitchen timer to audit your fermentation progress every two hours after the six-hour mark. If the batter has not risen after twelve hours, your environment is too cold or your starter grains were sterile. You can attempt a "rescue" by whisking in a pinch of sugar to feed the remaining yeast, but prevention is always more efficient than a cure.
THE VISUAL SPECTRUM
Section C: Thermal & Visual Troubleshooting:
Referencing the masterclass photo, a successful Indian Idli Batter should appear matte and aerated, not shiny or translucent. If your batter looks "flat" or has large, popping bubbles on the surface rather than tiny, consistent pores, your hydration level is too high. You have diluted the structural proteins. To fix this, whisk in a tablespoon of toasted rice flour to regain viscosity. If the final steamed product is yellowed rather than snow-white, you likely over-soaked the fenugreek or used tap water with high mineral content. For a dull, heavy texture, ensure you are not over-mixing the batter after it has fermented; you must fold it gently to preserve the gas pockets you spent twelve hours creating.
THE DEEP DIVE
Macro Nutrition Profile:
A single serving of fermented idli (approx. 3 cakes) provides roughly 150 calories, 6g of protein, and 30g of complex carbohydrates. Because it is fermented, the bioavailability of B-vitamins and amino acids is significantly higher than in unfermented rice dishes. It is naturally low in fat and contains zero cholesterol.
Dietary Swaps:
- Vegan: Naturally vegan. Ensure no ghee is used on the steamer plates.
- Keto: Replace rice with riced cauliflower and a stabilizer like xanthan gum (Note: This will not ferment traditionally).
- Gluten-Free: Naturally gluten-free.
Meal Prep & Reheating Science:
The batter will stay viable in a refrigerator for up to five days. However, the acidity will increase daily. To maintain molecular structure when reheating steamed idlis, never use a microwave without a water source. Use a steamer for three minutes to re-hydrate the starch gels. If you must use a microwave, wrap the idlis in a damp paper towel to prevent the exterior from turning into a polymerized crust.
THE KITCHEN TABLE
Why is my batter not rising in winter?
Microbes become sluggish in the cold. Use warm water (35C) during the grinding phase and wrap your fermentation vessel in a thick towel or use a specialized proofing box to maintain the necessary thermal energy for metabolic activity.
Can I use a standard blender instead of a wet grinder?
Yes, but you must work in small batches to prevent the motor from overheating the batter. Use pulsed bursts rather than continuous blending to maintain control over the texture of the rice grains.
Why do my idlis stick to the mold?
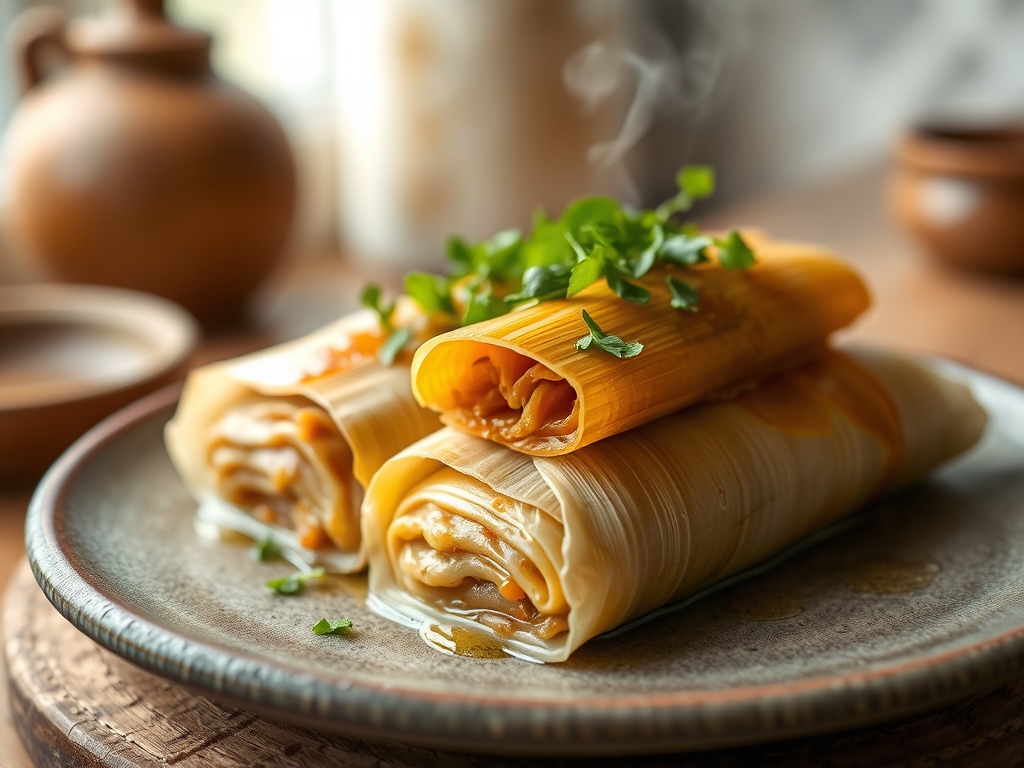
This is usually a sign of under-steaming or a lack of lubrication. Grease your molds with a neutral oil or use small squares of banana leaf. Ensure the steam is vigorous before placing the plates inside the vessel.
How do I know if the batter has gone bad?
A healthy batter smells yeasty and slightly tangy. If you see any pink or green discoloration, or if the smell transitions from "piquant" to "putrid," the batch is contaminated. Discard it immediately and sanitize all equipment.