Imagine a cloud of starch that defies the laws of gravity while maintaining the structural integrity of a Roman arch. That is the promise of authentic Italian Gnocchi. When executed with precision, these dumplings are not mere lumps of dough; they are pillows of aerated potato fluff that melt upon contact with the palate. However, the path to perfection is littered with the gummy, dense remains of failed experiments. The secret lies in the moisture content of the tuber and the calculated restraint of the flour. We are not making bread. We are engineering a delicate matrix where the starch granules are barely held together by a whisper of gluten. The sensory profile should be a contrast of textures: a light, almost ethereal interior protected by a golden, seared exterior that has undergone a perfect Maillard reaction. If your previous attempts have resulted in leaden sinkers that sit heavy in the gut, your ratios are compromised. It is time to audit your technique and recalibrate your kitchen for peak performance.
THE DATA MATRIX
| Metric | Specification |
|---|---|
| Prep Time | 45 Minutes |
| Execution Time | 15 Minutes |
| Yield | 4 Servings |
| Complexity | 7/10 |
| Estimated Cost per Serving | $1.85 |
THE GATHERS
Ingredient Protocol:
- 1 kg / 2.2 lbs Russet or Yukon Gold Potatoes (High starch content is non-negotiable)
- 250g / 2 cups Type 00 Flour (Plus extra for dusting)
- 1 Large Egg (Approx. 50ml), lightly beaten
- 10g / 2 tsp Fine Sea Salt
- 5g / 1 tsp Freshly Grated Nutmeg
- 50g / 3.5 tbsp Unsalted Butter (For searing)
- 5g / 1 tbsp Fresh Sage Leaves
Section A: Ingredient Quality Audit:
The primary failure point in Italian Gnocchi is the specific gravity of the potato. If you utilize "new" potatoes or waxy varieties like Red Bliss, the high water content will demand excessive flour. This results in a rubbery texture. Technical Fix: If your potatoes feel overly moist after steaming, spread the riced mash onto a baking sheet and place it in a 150F oven for five minutes to dehydrate the surface moisture. Furthermore, ensure your flour is "00" grade. The finer grind allows for faster hydration without over-developing gluten, which is the enemy of a tender crumb.
THE MASTERCLASS
1. Thermal Preparation and Peeling
Boil the potatoes whole in their skins to prevent water ingress into the flesh. Once fork-tender, peel them while they are still steaming. Use a clean kitchen towel to hold the hot tuber and a paring knife to scrape away the skin.
Pro Tip: Use a digital scale to weigh the potatoes after peeling. The ratio of flour should always be roughly 25 percent of the final potato weight. Peeling while hot ensures that steam escapes, which helps to aerate the mash and prevents a viscous gummy texture.
2. The Ricing Phase
Pass the hot potatoes through a fine-mesh ricer or a food mill directly onto a clean work surface. Do not mash them with a fork or a potato masher, as this compresses the cells and releases too much free starch.
Pro Tip: Spread the riced potatoes out into a thin layer to allow the remaining steam to evaporate. If you clump the hot potato together, the residual heat will cook the flour prematurely when you mix it, leading to a "gluey" consistency. A bench scraper is the ideal tool for handling the delicate riced mounds without crushing them.
3. Integration and Kneading
Sift the flour over the cooled potato. Add the beaten egg, salt, and nutmeg. Use a bench scraper to "cut" the flour into the potato rather than kneading it like bread. Fold the mass gently until a soft, non-sticky dough forms.
Pro Tip: Stop the moment the dough is homogenous. Over-working the dough will render the gluten too elastic, transforming your pillows into bouncy balls. The dough should feel like a soft earlobe.
4. Architectural Shaping
Divide the dough into four segments. Roll each into a long rope approximately 2cm thick. Use your bench scraper to cut the rope into 2cm nuggets. Roll each piece over a gnocchi board or the tines of a fork to create ridges.
Pro Tip: The ridges are not merely aesthetic; they increase the surface area for the sauce to cling to and create "pockets" of flavor. This structural detail ensures every bite is infused with your chosen condiment.
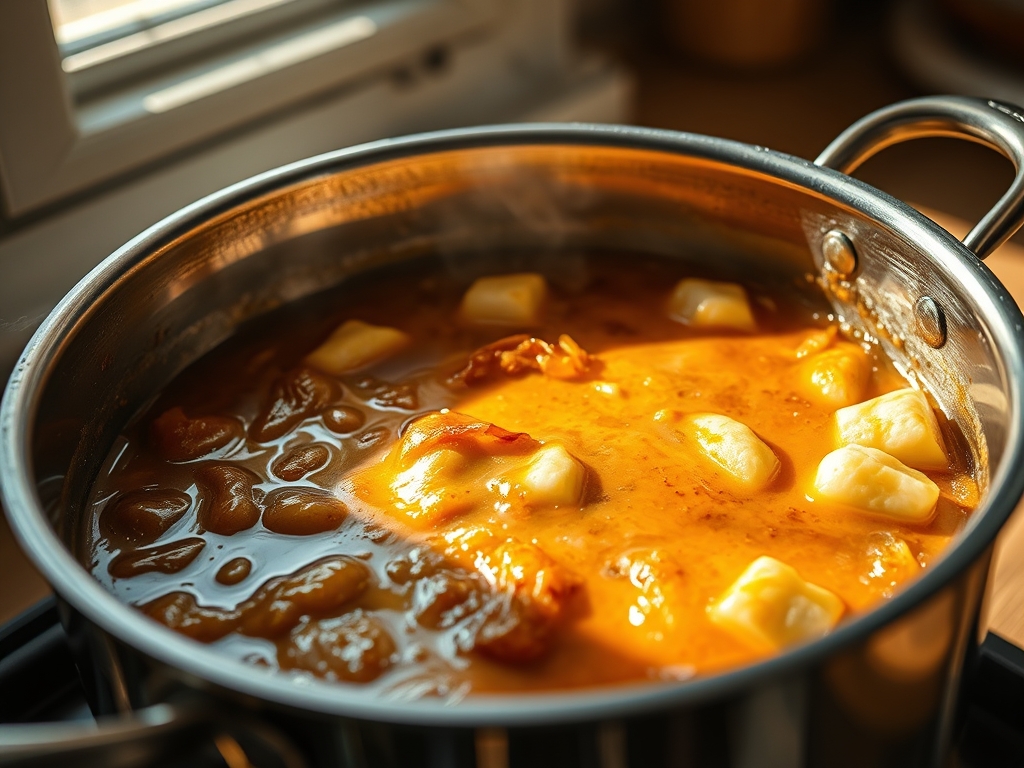
5. The Boiling Point
Drop the gnocchi into a large pot of aggressively salted boiling water. They are finished the moment they float to the surface. This usually takes between 60 to 90 seconds.
Pro Tip: Use a spider strainer to remove the gnocchi immediately. Do not dump them into a colander, as the weight of the pile will crush the bottom layer. Transfer them directly into a pre-heated saucier containing browned butter.
Section B: Prep & Timing Fault-Lines:
The most common human error is the "Wait Time." If you shape the gnocchi and let them sit for more than 20 minutes before boiling, the salt will draw moisture out of the potato, making the dough sticky again. If you are not ready to cook, freeze them in a single layer on a tray. Additionally, ensure your butter is already foaming in the pan before the gnocchi leave the water. Timing is a critical infrastructure component; the transition from water to fat must be seamless to prevent the starch from setting into a tacky film.
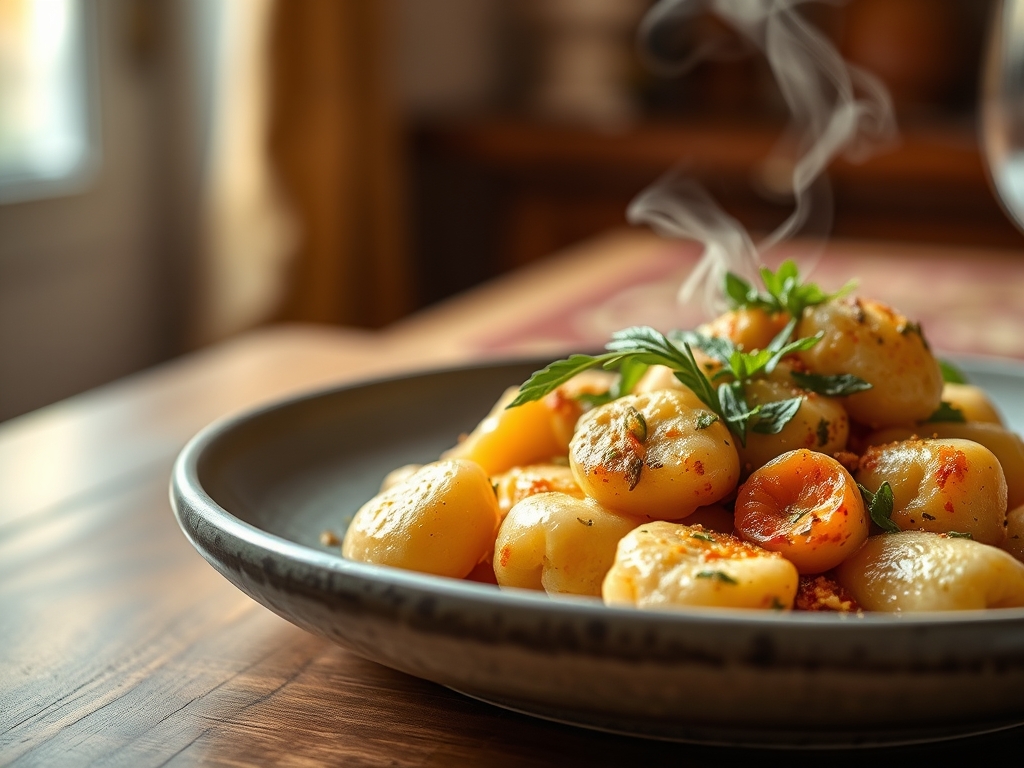
THE VISUAL SPECTRUM
Section C: Thermal & Visual Troubleshooting:
Referencing the Masterclass photo, your gnocchi should exhibit a "pillowed" silhouette with distinct ridges. If your gnocchi look slumped or "melted," your water was likely at a rolling boil that was too violent, or your flour ratio was too low. If the exterior is pale and slimy, you skipped the searing phase. To achieve that deep amber hue, you must deglaze the pan with a splash of pasta water after the butter has browned, creating an emulsion that coats the seared edges. If the color is dull, ensure you are using fresh nutmeg and high-quality butter; the fats help to infuse the dish with a vibrant, golden sheen.
THE DEEP DIVE
Macro Nutrition Profile:
A standard serving provides approximately 350 calories, 65g of carbohydrates, 8g of protein, and 12g of fat (primarily from the butter sauce). While starch-heavy, the potassium from the Russet potatoes provides a significant micronutrient boost.
Dietary Swaps:
- Vegan: Replace the egg with 1 tablespoon of olive oil or a "flax egg." The texture will be slightly more fragile.
- Gluten-Free: Use a high-quality 1:1 GF flour blend containing xanthan gum to provide the necessary binding.
- Keto: This is a structural challenge. Substitute potato with roasted cauliflower (squeezed dry) and use almond flour with egg yolk.
Meal Prep & Reheating Science:
To maintain molecular structure, never refrigerate cooked gnocchi in sauce for more than 24 hours. The starch will undergo retrogradation, becoming gritty. For best results, freeze raw gnocchi on a parchment-lined sheet. To reheat, boil directly from frozen.
THE KITCHEN TABLE
Why are my gnocchi falling apart in the water?
This indicates insufficient binding or excess moisture in the potatoes. Ensure you use a "flurry" of flour and an egg. If the potato was too wet, the starch matrix cannot hold against the agitation of boiling water.
Can I make the dough in a food processor?
Absolutely not. The high-speed blades will shear the potato starch cells, releasing amylopectin and turning your dough into a literal pot of glue. Always use a ricer and hand-incorporate the flour for a light texture.
What is the best sauce for Italian Gnocchi?
A simple brown butter and sage sauce is the gold standard. It allows the delicate potato flavor to shine without overwhelming the palate. However, a light gorgonzola cream or a piquant pomodoro also works beautifully.
How do I know if I have used enough flour?
The dough should no longer stick to your hands but should still feel slightly damp. If it feels like play-dough, you have gone too far. It should be just dry enough to roll into a rope.