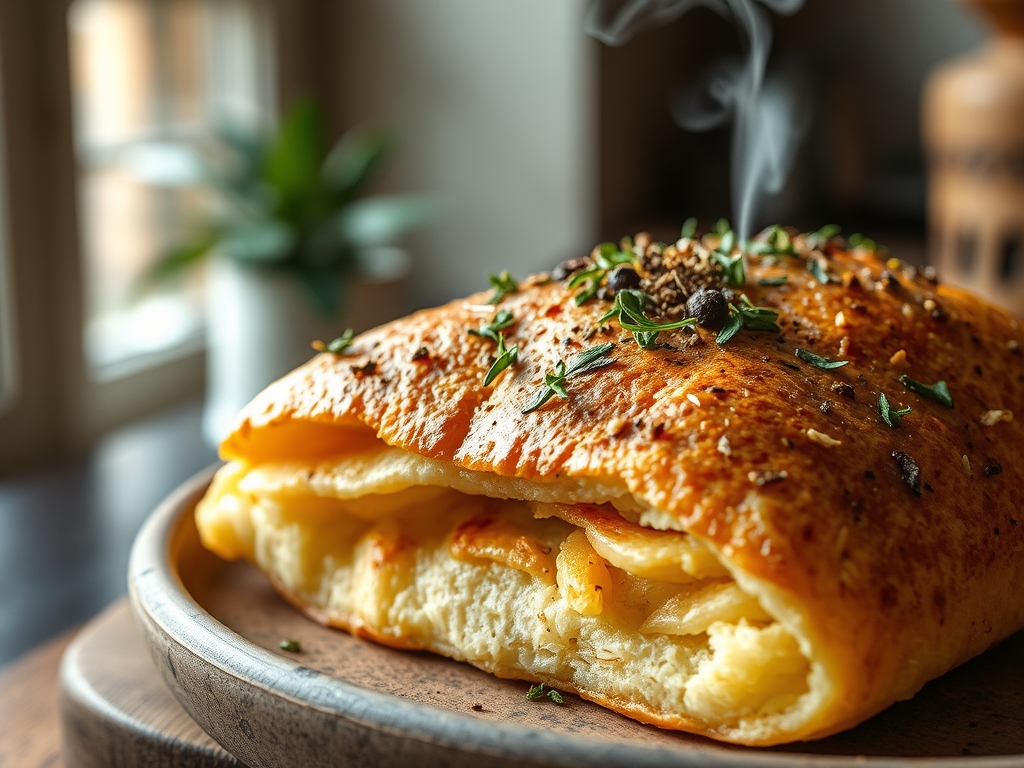
The air in a high-functioning kitchen is never just air; it is a pressurized medium of volatile organic compounds and microbial ambition. When you enter the world of Ethiopian Injera, you are not merely making a flatbread. You are managing a living, breathing colony of Eragrostis tef. The scent is the first indicator of success: a sharp, piquant tang that signals the presence of lactic acid bacteria working in perfect harmony with wild yeasts. This is the bedrock of East African gastronomy, a sourdough crepe that serves as both the plate and the utensil. To the uninitiated, it looks like a porous moonscape. To the culinary engineer, those "eyes" or ayen are a visual data map of carbon dioxide release and structural integrity. We are looking for a specific elasticity, a subtle sourness that cuts through heavy fats, and a structural resilience that allows it to lift a pound of spicy doro wat without disintegrating. Prepare your workstation. We are about to synchronize biology and thermodynamics.
THE DATA MATRIX
| Metric | Specification |
|---|---|
| Prep Time | 72 to 96 Hours (Fermentation Window) |
| Execution Time | 30 Minutes |
| Yield | 10 to 12 Large Crepes |
| Complexity | 8 / 10 (Microbial Management) |
| Estimated Cost per Serving | $0.85 USD |
THE GATHERS
Ingredient Protocol:
- 500g / 3.5 cups Brown or Ivory Teff Flour (Stone-ground preferred)
- 750ml / 3 cups Filtered Water (Chlorine-free for microbial health)
- 5g / 1 tsp Active Dry Yeast (Optional; for accelerated fermentation)
- 10g / 2 tsp Sea Salt (Fine grain for rapid dissolution)
- 125ml / 0.5 cup Boiling Water (For the ersho or starter activation)
Section A: Ingredient Quality Audit:
If your teff flour smells musty or lacks that nutty, earthy aroma, the lipid profile has likely oxidized. This results in a bitter aftertaste that no amount of fermentation can fix. To mitigate this, ensure your flour is stored in an airtight container in a cool, dark environment. If your water supply is heavily chlorinated, it will act as a biocide, stalling your sourdough kinetics. Use a charcoal filtration system or boil the water and let it sit for 24 hours to off-gas the chlorine. If the batter remains inert after 48 hours, the ambient temperature is likely below 70 degrees Fahrenheit. Move the vessel to a proofing drawer or the top of a refrigerator to stimulate enzymatic activity.
THE MASTERCLASS
1. The Primary Hydration Phase
Combine the teff flour and filtered water in a deep glass or ceramic vessel. Use a digital scale to ensure precision, as even a 2 percent variance in hydration can alter the final viscosity. Mix until a thick, uniform paste forms. Cover loosely with a cheesecloth to allow for gas exchange while preventing debris infiltration.
Pro Tip: This stage initiates autolysis, where enzymes begin breaking down complex starches into simple sugars. This provides the primary fuel source for the yeast and bacteria that will define the flavor profile.
2. The Fermentation Interval
Allow the mixture to sit at room temperature for three to four days. You will observe a liquid layer forming on top; this is the "black water" or serif. This liquid is highly acidic and acts as a preservative. By day three, the mixture should be viscous and bubbling aggressively.
Pro Tip: Do not discard the liquid entirely if you want a more piquant profile. The acidity levels here directly correlate to the pH of the final product, which influences the protein coagulation during the cooking phase.
3. The Absit Creation
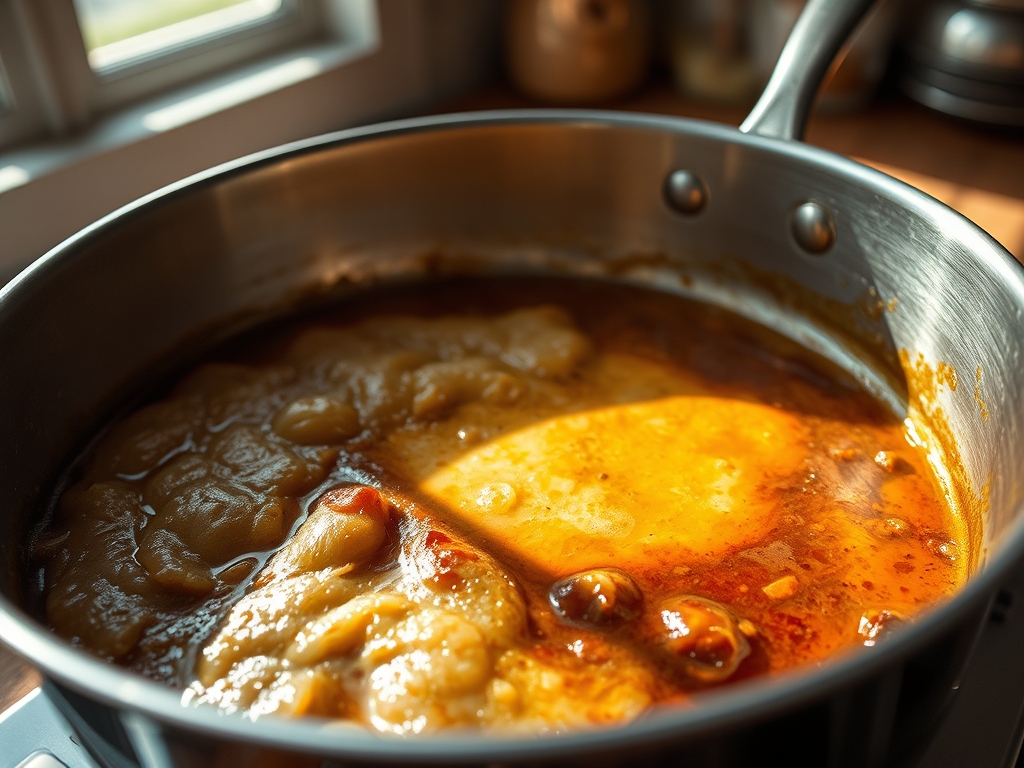
On the final day, remove about 125ml of the fermented batter and whisk it into 250ml of boiling water in a small saucier. Cook over medium heat until it thickens into a translucent porridge. Allow this to cool slightly, then whisk it back into the main batch.
Pro Tip: This is a gelatinization technique. By pre-cooking a portion of the starch, you increase the batter's ability to trap carbon dioxide, ensuring the formation of those iconic "eyes" when the batter hits the heat.
4. The Final Dilution and Aeration
Add salt and additional water until the batter reaches the consistency of heavy cream. Use a bench scraper to clean the sides of the bowl and ensure no dry pockets remain. Let the batter rest for another 2 hours to stabilize the bubbles.
Pro Tip: Aerate the batter by pouring it from a height of six inches back into the bowl. This mechanical agitation introduces oxygen, which reinvigorates the yeast for one final push before thermal exposure.
5. The Thermal Execution
Heat a non-stick crepe pan or a traditional mitad over medium-high heat. Pour the batter in a circular motion starting from the outside and moving toward the center. Cover with a tight-fitting lid immediately. Cook for 2 to 3 minutes; do not flip.
Pro Tip: The lid is non-negotiable. It creates a steam chamber that cooks the top of the injera without the need for inversion. This preserves the delicate cellular structure of the surface.
Section B: Prep & Timing Fault-Lines:
The most common human error is impatience. If you cook the injera before the fermentation has reached its peak, the bread will be dense and lack the necessary acidity to balance the spices of a traditional stew. Conversely, over-fermentation leads to a structural collapse where the bread becomes too fragile to handle. Monitor the "nose" of the batter; it should be bright and tangy, not reminiscent of vinegar or rot. Temperature control is your primary lever. If the kitchen is too cold, the fermentation will stall; if it is too hot, the yeast will outpace the bacteria, resulting in a bread that is bubbly but lacks depth of flavor.
THE VISUAL SPECTRUM
Section C: Thermal & Visual Troubleshooting:
Referencing the Masterclass photo, observe the uniform distribution of the ayen (the holes). If your injera is smooth like a standard pancake, your batter is too thick or your Absit was improperly integrated. If the edges are curling and browning excessively, your heat is too high; injera should be pale and flexible, not crispy. Render the heat slightly lower and ensure your pan is evenly seasoned. If the color is dull or gray rather than a vibrant chocolate brown (for brown teff), the fermentation period was likely too short, failing to unlock the natural pigments in the grain. The texture should be spongy and springy to the touch; if it feels gummy, increase the cooking time by 30 seconds while maintaining the steam seal.
THE DEEP DIVE
Macro Nutrition Profile:
Ethiopian Injera is a nutritional powerhouse. A single large crepe provides approximately 12g of protein, 8g of fiber, and is an exceptional source of iron and calcium. Because teff is a whole grain, it has a low glycemic index, providing sustained energy release without the insulin spikes associated with refined wheat.
Dietary Swaps:
- Vegan: Naturally vegan. No modifications required.
- Keto: Teff is high in carbohydrates. For a keto-adjacent version, one must blend almond flour with xanthan gum and apple cider vinegar, though the authentic fermentation profile will be lost.
- GF: Teff is naturally gluten-free. Ensure your source is certified to avoid cross-contamination.
Meal Prep & Reheating Science:
To maintain molecular structure, store injera stacked with parchment paper between layers in an airtight bag. When reheating, do not use a toaster. Use a steamer or a damp paper towel in the microwave for 20 seconds. This re-hydrates the starch molecules, preventing the retrogradation that causes the bread to become brittle.
THE KITCHEN TABLE
Why is my injera cracking when I roll it?
This indicates a lack of moisture or overcooking. The steam phase was likely compromised. Ensure your lid is airtight to maintain the hydration levels of the starch gel during the cooking process.
Can I use a sourdough starter from wheat?
You can, but it compromises the gluten-free status and alters the flavor. Teff has its own unique wild yeast strains that produce the specific piquant profile required for authentic Ethiopian cuisine.
How do I know when the fermentation is "done"?
Look for a separated layer of water on top and a bubbly, honeycomb-like structure in the silt below. The smell should be pleasantly sour, much like a strong yogurt or a dry cider.
My injera is sticking to the pan. Help!
Even non-stick surfaces require a light wipe of oil. Use a high-smoke point oil like grapeseed. Wipe the pan with a paper towel between each crepe to ensure a clean release.
Is the "black water" safe to use?
Yes. In fact, it contains a high concentration of the acids that give injera its flavor. You can pour it off to reduce sourness or stir it back in to increase the tang.