Forget everything you think you know about breakfast porridge because we are entering the realm of high-performance starch engineering. Ancient Chinese Congee is not just a meal; it is a structural masterpiece of slow-release hydration and molecular suspension. Imagine a liquid silk that coats the palate with the weight of a heavy cream but carries the clean, floral resonance of premium short-grain rice. This is the ultimate comfort infrastructure. We are talking about a dish that has fueled dynasties and healed the weary for millennia by leveraging the precise breakdown of amylopectin. When executed with surgical precision, the rice grains do not merely soften; they bloom. They surrender their structural integrity to the simmering liquid, creating a velvety matrix that is both primal and sophisticated. This is a sensory overhaul that demands patience and a deep respect for the kinetics of boiling water. If you are looking for a quick fix, go buy a cereal box. If you want to master the art of the slow-simmered soul, welcome to the audit.
THE DATA MATRIX
| Metric | Specification |
|---|---|
| Prep Time | 15 Minutes |
| Execution Time | 90 – 120 Minutes |
| Yield | 4 – 6 Servings |
| Complexity (1-10) | 4 (Technique Sensitive) |
| Estimated Cost per Serving | $0.85 – $1.25 |
THE GATHERS
Ingredient Protocol:
- 200g / 1 cup Jasmine or Short-Grain Pearl Rice (The starch engine).
- 2.1L / 9 cups Filtered Water or High-Gelatin Chicken Stock (The hydration medium).
- 15g / 1 tbsp Neutral Oil (The lipid emulsifier).
- 5g / 1 tsp Kosher Salt (The flavor enhancer).
- 50g / 2 inches Fresh Ginger, peeled and julienned (The aromatic spike).
- Optional: 200g / 7 oz Lean Pork or White Fish (The protein additive).
- Garnish: Scallions, Fried Shallots, and Century Egg (The texture contrast).
Section A: Ingredient Quality Audit:
The most common failure point in Ancient Chinese Congee is the use of parboiled or "converted" rice. These grains have been pre-processed to resist breaking down, which is the antithesis of a successful congee. If your rice remains distinct and "toothy" after an hour, your starch ratio is compromised. To fix this, use a high-speed blender to pulse the dry rice for three seconds before cooking. This creates micro-fissures in the grain, accelerating the hydration kinetics. Furthermore, if your water has a high mineral content, it can inhibit the softening of the rice hull. Always use filtered water to ensure a neutral pH, allowing the rice to infuse the liquid without chemical interference.
THE MASTERCLASS
Step 1: The Lipid Pre-Wash
Rinse your rice under cold water until the runoff is crystal clear. Drain thoroughly and toss the damp grains with a tablespoon of neutral oil. Let this sit for 15 minutes.
Pro Tip: This is the "oil-coating" method. The oil creates a thin barrier that prevents the grains from clumping together during the initial boil, ensuring each grain expands independently to create a more viscous and uniform texture. Use a digital scale to ensure your rice-to-oil ratio is exact.
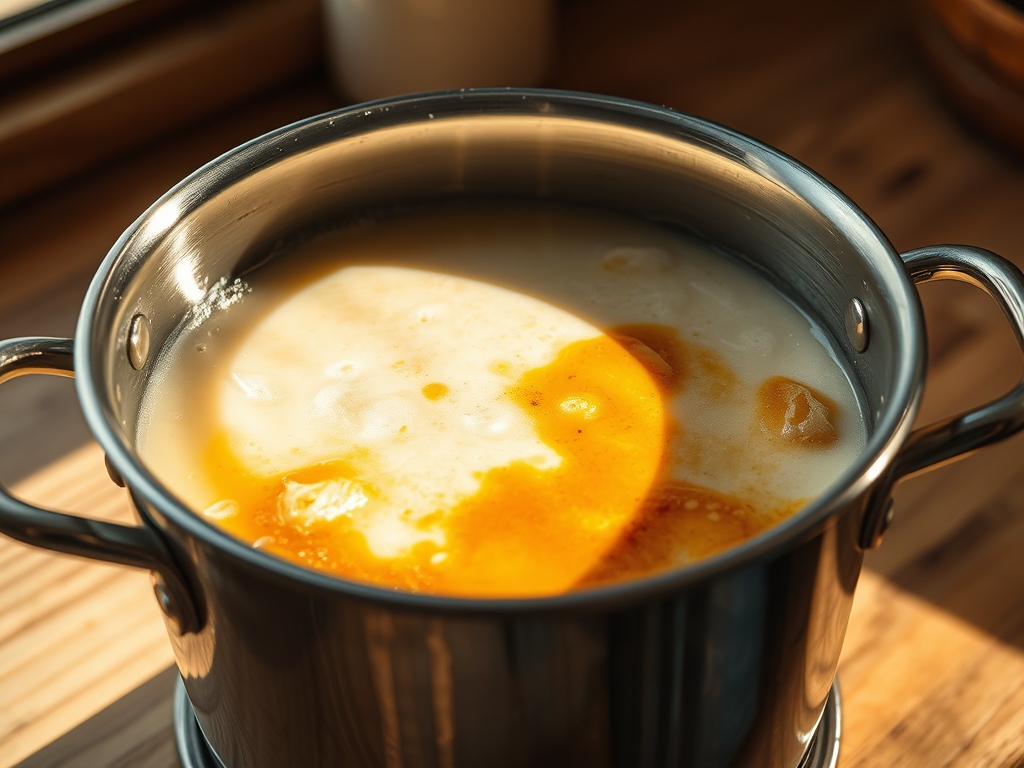
Step 2: The Thermal Shock
Bring your 2.1 liters of liquid to a rolling boil in a heavy-bottomed saucier or Dutch oven. Aggressively introduce the oiled rice into the boiling vortex.
Pro Tip: The sudden temperature spike causes the starch granules to swell rapidly and burst. This is the "bloom" phase. Using a saucier with rounded bottom edges allows for better convection currents, preventing the rice from settling and scorching on the bottom of the pan.
Step 3: The Gentle Reduction
Once the pot returns to a boil, reduce the heat to a whisper. The surface should barely ripple. Cover the pot, but leave a small gap for steam to escape. Simmer for 60 to 90 minutes.
Pro Tip: Constant stirring is a rookie mistake that leads to a gummy, glue-like consistency. Let the convection do the work. Use a bench scraper to clean your prep station while you wait; the cleanliness of your environment reflects the clarity of your broth.
Step 4: The Emulsification Finish
After 90 minutes, the rice should be disintegrated. Take a whisk and vigorously stir the mixture for 30 seconds to aerate the porridge and release any remaining starch.
Pro Tip: This final mechanical agitation creates a creamy emulsion between the broken rice solids and the enriched liquid. This is where the congee achieves its signature "silk" mouthfeel. Check the consistency; it should coat the back of a spoon without being sludge-like.
Section B: Prep & Timing Fault-Lines:
Timing is the silent killer of congee. If you rush the boil, the water evaporates before the rice can render its starch, leaving you with a dry, gritty mess. Conversely, if you cook it too long without monitoring, the sugars in the rice will caramelize and burn. If you notice the liquid level dropping too fast, supplement with boiling water only. Adding cold water mid-cycle shocks the starch and halts the softening kinetics, resulting in an uneven "pebbly" texture that no amount of stirring can fix.
THE VISUAL SPECTRUM
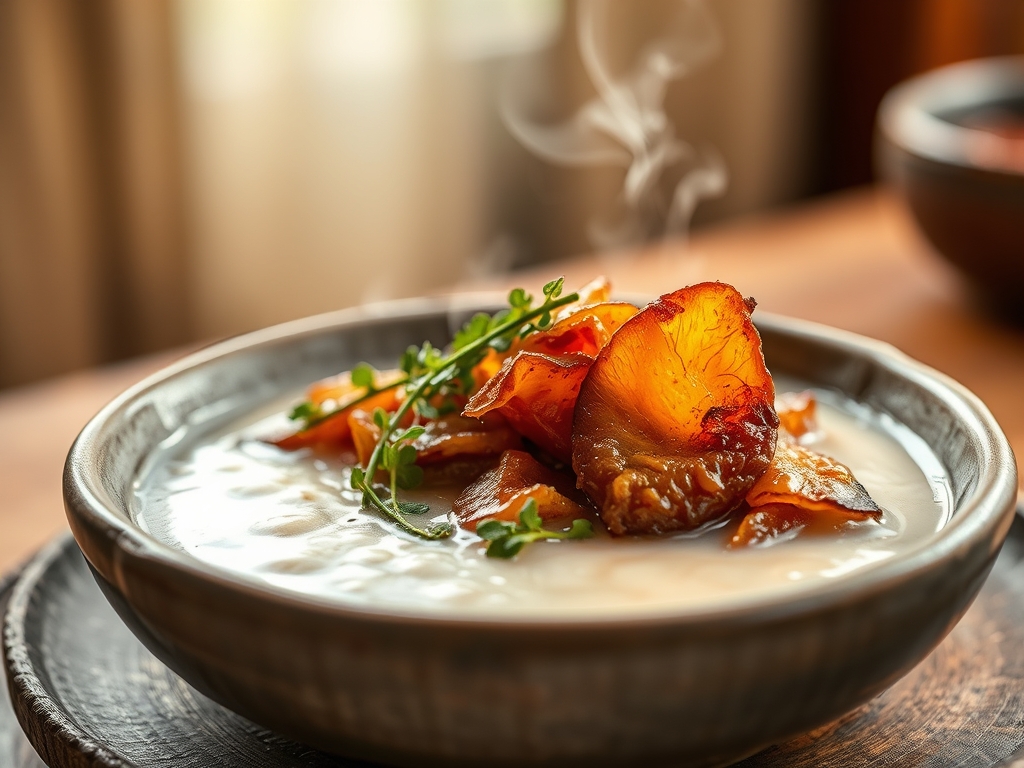
Section C: Thermal & Visual Troubleshooting:
Look at the Masterclass photo above. Notice the high-gloss sheen on the surface of the congee. This is a visual indicator of successful lipid emulsification. If your congee looks dull or matte, you likely skipped the oil-coating step or used an inferior rice grade. If you see a "split" where water sits on top of a sediment of rice, the starch has not been properly integrated. To fix a split congee, take one cup of the mixture, blend it on high speed, and stir it back into the pot to act as a thickening agent. The color should be a pristine, translucent white; any browning indicates the heat was too high, causing a premature Maillard reaction at the base of the pot.
THE DEEP DIVE
Macro Nutrition Profile
A standard bowl of plain congee is a high-glycemic, low-fat carbohydrate source. It provides approximately 150 calories per serving, primarily from complex carbs. However, its high water content makes it exceptionally hydrating and easy on the gastrointestinal tract.
Dietary Swaps
- Vegan: Use a rich mushroom and kombu dashi instead of chicken stock to infuse deep umami notes.
- Keto: Replace rice with riced cauliflower. Note: You must use a xantham gum slurry to mimic the viscous starch matrix of traditional rice.
- GF: Naturally gluten-free, provided your garnishes (like soy sauce) are substituted with tamari.
Meal Prep & Reheating Science
Congee is a non-Newtonian fluid that thickens significantly as it cools. When reheating, the molecular bonds tighten. To restore the original structure, add 1/4 cup of liquid per cup of congee and whisk over medium heat. Do not microwave on high; the uneven heating will create "rubber" pockets of dehydrated starch.
THE KITCHEN TABLE
Why is my congee sticking to the bottom?
Your heat is too high or your pot is too thin. Use a heavy-bottomed vessel and ensure the liquid is at a "smiling" simmer, not a frantic boil. The starch needs to float, not sink and scorch.
Can I make this in a slow cooker?
Yes, but you lose the "bloom" caused by the initial thermal shock. To compensate, toast the rice in a pan before adding it to the slow cooker to develop a deeper, nuttier flavor profile.
How do I get that restaurant-style "silk" texture?
The secret is the oil-coating method and the final 30-second whisking. This mechanical energy breaks the last of the rice hulls and suspends them perfectly within the hydration medium for a luxurious finish.
What is the best rice to water ratio?
For a classic "medium" thickness, use a 1:10 ratio. For a thicker, more substantial meal, go 1:8. For a thin, "drinking" congee often served to the ill, a 1:13 ratio is the gold standard.